
If you purchase an independently reviewed item through our site, we earn an affiliate commission. Read our affiliate disclosure.
Beekeeping can present many daunting challenges for those who are not ready to tackle the effects of weather changes on the lives, and hives of bees. Every season of the year has its unique dos and don’ts for beekeeping processes. You not only have to be aware of the challenges you will face while caring for the bees and hives, but you also have to be prepared to adapt to the changes in the environment and their respective effect on the hives to ensure survival. Depending on where you live, there is a four-season cycle per year and its respective seasonal management beekeeping activities for success are discussed in this article.
Beekeeping Activities and Tasks in Spring
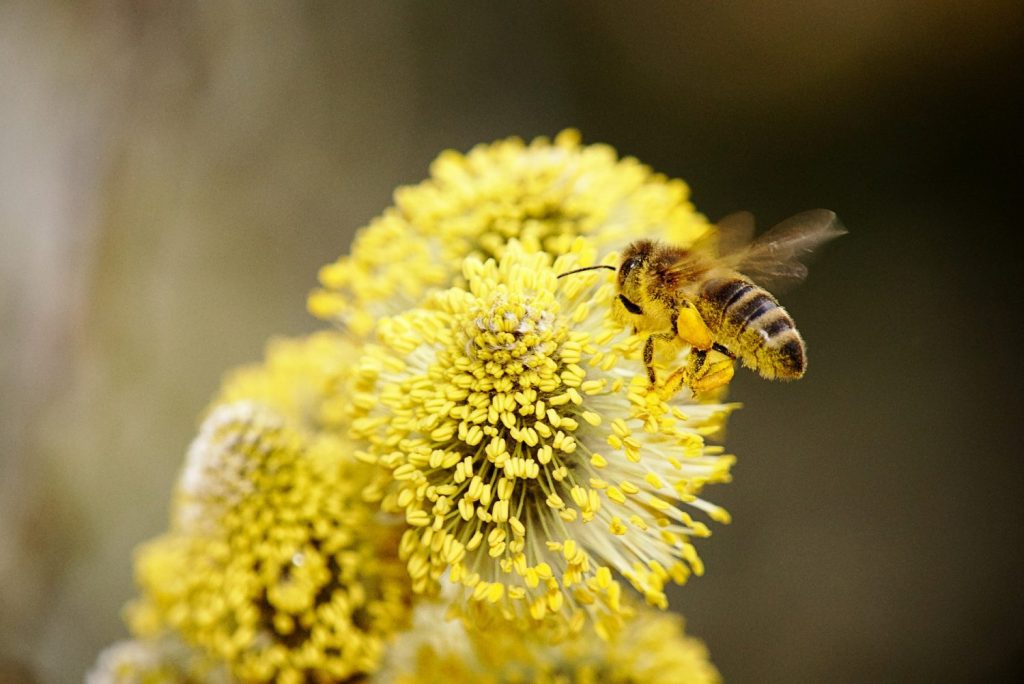
Spring is a busy time for both bees and beekeepers. The bee population starts to soar as the queen begins to lay eggs at the greatest rate. The hive as a whole comes alive and lots of drones start to appear. It is a time of hyper-activity in the hives and a lot of nectar and pollen is brought back. For the beekeepers, there are many responsibilities since all the previous colonies spring to life and it is the perfect time to start new colonies. You can expect to invest about eight hours daily for this season.
Major spring time beekeeping chores include:
- Evaluation – checking the current colonies’ status
- Preparation – preparing the bee colonies for summer
Once the first signs of spring show:
1. Conduct an Evaluation
It is necessary to figure out what your hive needs to thrive and to see how they fared after the winter season. From the results of the inspection, you can both evaluate the success of your winter preparation efforts and take note of what your hive needs for now, as there is going to be a lot of increase in population and other hive activities. Do make sure to perform this inspection in early spring and not in late winter.
2. Cluster Check
When you perform the spring evaluation, do check to see you have the clusters. The honey bee clusters mostly stay within the upper side of the deep hive body. If you are unable to see them, listen for them. Gently tap the sides of the hive listen for the humming or buzzing sound.
3. Find your Queen
You have to locate the queen bee to ensure that she survived the winter and has started laying eggs. To find your queen, you have to look in the frames and find out if there is any brood. The presence of brood is a good sign that the queen has survived and is hard at work. You may need to check thoroughly by removing a frame from the center of the top deep to take a close look.
4. Feed the Bees
You should also check that your bees have enough food. You can perform this check by simply spotting the presence of honey in the frames. If you can find honey, then your bees have food. But the honey will be capped. You can identify by color. If the capping is white, there is honey. However if the capping is tan, then it is brood and not honey. If you do not spot honey, begin emergency feeding of the bees.
5. Medicate the Bees
The best time for bee feeding as well as medicating a colony is a few weeks before the first signs of spring blossoms. At this time, whether they have honey or not, you need to feed and medicate them. If this is the first season, then there is no need for medication provided your bee supplier is responsible and has medicated them already. For the second season, do consider medication. Keep in mind that all medication treatments must be stopped about six weeks before introducing honey supers to the colony. It is necessary to avoid any contamination of the honey intended for harvest.
6. Reverse the Hive Bodies
During spring, you can anticipate exponential growth in the colony. Therefore, you will be required to make some arrangements in anticipation of that growth. You need to create enough space for the increasing numbers in your colony. The queen excluder or the honey supers can suffice considering their purpose. But bear in mind to remove the feeder as well as terminate any usage of medication to avoid contamination. You should also be careful and not wait until the hive is too crowded to create room. Remember that in beekeeping, anticipation is the key to a successful colony.
7 Swarming
It is of utmost importance that you watch out for any indications of swarming. To stay on top of things, you may need to inspect the hive in short intervals and look for any swarm cells. Adding a super will help of course but that may not be enough in certain cases to head off swarming. To prevent swarming without having to split, keep the brood nest open. It will reduce swarming while maintaining the maximum workforce. If there is too much swarming, then you can do checkerboarding. It is only suggested for stronger hives.
8. Should I Split?
The level of intervention required can be judged by swarming. If you find swarm cells, then make the split. The presence of a swarm indicates two things. First, the hive reached the critical mass you need to split. Second, you have missed the chance to facilitate a larger crop. If you see a critical mass but no swarm cells, then you can take action to boost your crop right away.
9. Adding Supers
In spring you will need to add supers. Do not be hasty to add them while the hive is still struggling with the cold weather. Once your hive starts to build up, it’s time to introduce supers. At this point, the general goal is to double the hive space. It allows the bees and the keepers enough room to work with.
Beekeeping Activities and Tasks in Summer
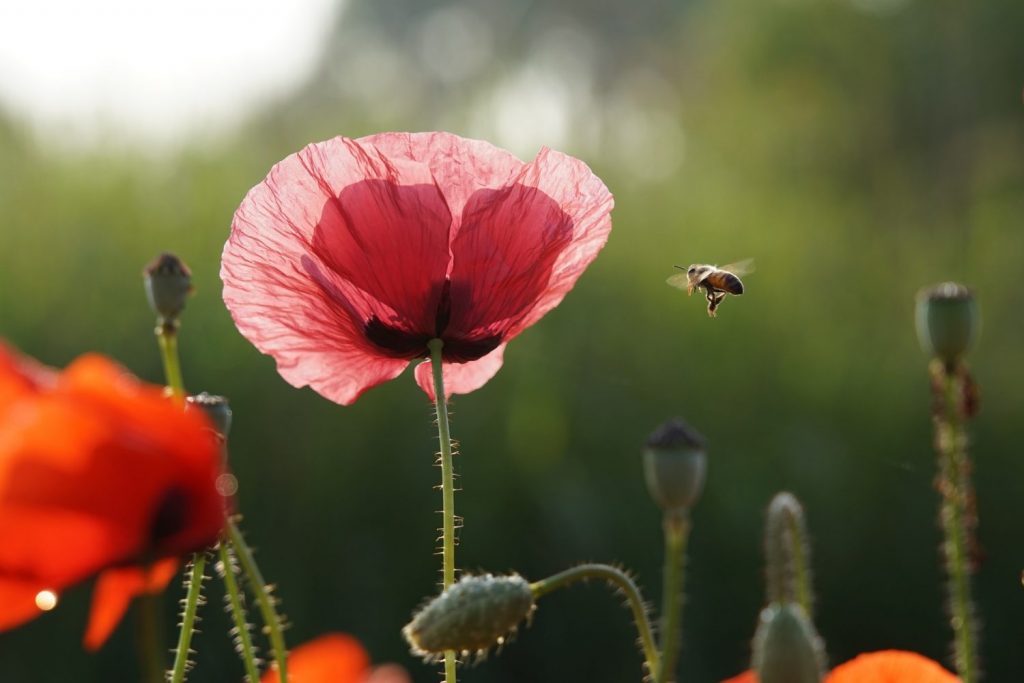
Summertime is when you get the highest yield of honey. During summer, there is a common misconception regarding the beehives that they can be let go off. No need to take care of them closely. Not concerning yourself with taking care of your beehive can lead to much lower honey production. This low yield of honey can also be attributed to a problem in a hive. Here is how you can find and take care of these issues.
Summer Evaluation and What to Look For
This season for beekeeping starts by transitioning from spring to summer. At this time the hive is relatively pretty cool and bees are comfortable and hard at work. However, it is when you need to prepare for hotter weather. The first thing you need to do is to evaluate the size of your colony. Secondly, you may need to split older hives that are starting to swarm. Then give them a few weeks so you can estimate your colony size. By now the new queen should be laying eggs and populating the hive fast.
Hive Maintenance Activities
When you open a frame and about 70 to 80 percent of it is covered with bees, your hive is strong. This is the time to introduce the first super box. You can set them over the brood chamber and later you can harvest the honey from them.
Here are some reasons why your hive is not thriving.
1. The Queen
If the frames are covered less than 70 percent, the hive is weak and you may not find a queen. If you cannot find the queen, in your hive then you would need to purchase a queen from a queen supplier. Once the queen arrives, introduce her to the hive fast.
2. Wax Moths
Another sign of a weak hive is the presence of wax moths. Should you find any, you will need to take immediate action for prevention.
3. Varroa Mites
Varroa mites can also be a cause of a weak hive. One treatment option involves oxalic acid. It is mostly used in spring to control the beehives. The direct spray of the medication may harm the hive, especially the queen. Instead, you can soak a towel in the mixture of oxalic acid and lay it inside the hive. The worker bees will use it as a rub and chew through it. This way it will get all over their bodies and rid them of the mites. It helps in mites control while keeping them healthy.
4. Food Stores
Another reason for a weak hive is food stores. Check the brood frames for the amount of honey they have. If the rations are running low then you need to feed sugar syrup. You can choose to have an entrance feeder or an inside feeder.
Keep the Hive Cool
Summer is when you worry the most about your hive to have the right temperature. Maintaining the temperature is crucial for the hive health. You can try to put the hive in a shady spot. The bees try to keep the hive cool by fanning water inside the hive with their wings, so make sure there is an ample water source natural or man-made available nearby. You should also make sure to provide enough ventilation.
How to Find the Honey Flow
The honey flow will typically start from May, given that your supers are already in. Depending on the bee population, here is how you can find the presence of honey flow:
- A dramatic increase in the hive weight over several days.
- Presence of wax foundation on the frames.
- Bees are not aggressive in protecting their honey and are easier to work with.
- Signs of fresh wax on drawn combs end and the on top bars.
- The smell of sweet ripe honey in the air.
For the first year of your beekeeping journey, there may not be any honey to harvest as the beehive hasn’t produced enough surplus. This is okay; this is the time to focus on keeping your bees healthy that harvest will soon come in.
Do Not Open the Hive Too Much During Honey Flow
When you verify the signs of honey flow, it can be very tempting to open the hive and check on the progress. But you must resist and let the bees work. The only time you should open the hive is for weekly inspection and when you suspect there is something wrong.
If you had to requeen a hive, then you should check back after a few days to ensure the colony has accepted her. After that, check weekly to ensure she is present and laying eggs.
The Don’ts of Summer Beekeeping
- Don’t get greedy, that honey will start to come in from May. It is a process, so be patient and let the bees work.
- Don’t add a super if the colony is weak. They should only be introduced in a strong colony and only one super at a time.
- Don’t give them too much space, but provide enough ventilation.
- Don’t open the hive to check on the honey flow unnecessarily.
Beekeeping Activities and Tasks in Autumn
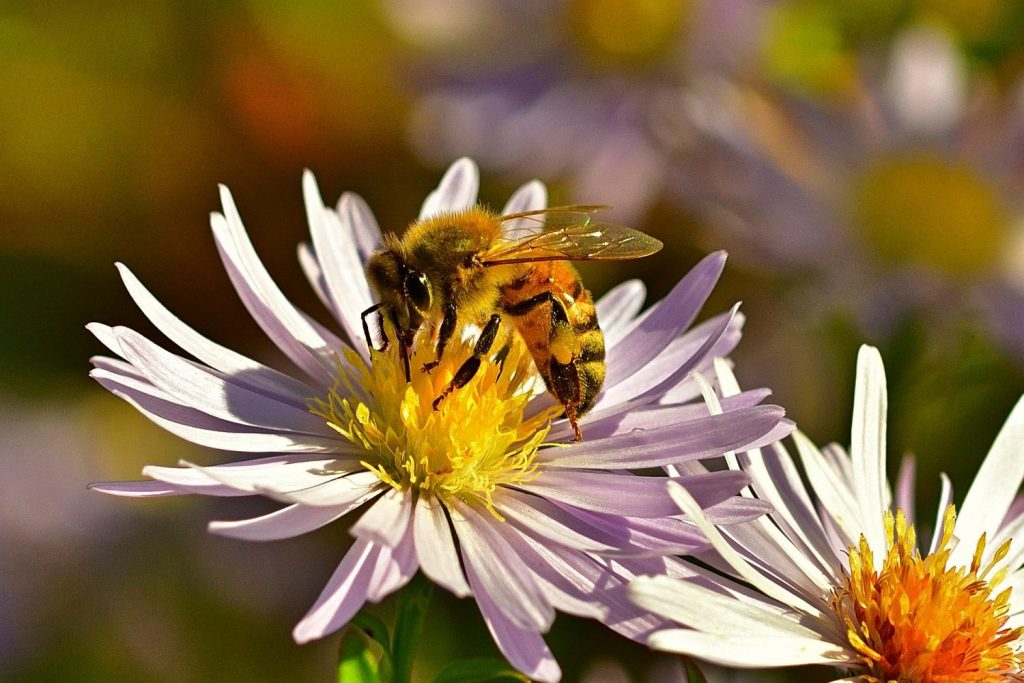
The general sources of nectar and pollen become scarce in autumn. With this decrease in the availability of food, other hive activities also slow down. The rate at which the queen lays eggs fall severely, the drones start to vanish and the population drops radically. At this time, the bees are also preparing to hunker down for the winter period. They start to bring in propolis to chink up any cracks to block incoming winter air.
All beekeeping activities of autumn are directed towards ensuring their survival in winter. Beehives are most vulnerable to disease and death during winter. Therefore, the management for both is to be performed beforehand in autumn.
Autumn Evaluation
The first task is to evaluate on a warm and sunny day.
- Make sure that all the colonies have their laying queen.
- Beehives with less than 6 frames should be combined.
- Condensing the hive helps them in keeping warm by requiring less energy.
- Ensure they have enough food to carry them through the winter.
- Once a month, check your colony’s weight to gauge the risk of starvation.
- Watch out for disease in the colonies.
- Repair any broken or damaged hive boxes to avoid honey robbing by other starving bees.
- Check if the hive has proper ventilation.
- Consider whether a reduction in the entrance size is needed.
- Keep the hive a little above the ground level facing north-east.
Tools and Equipment Management and Cleaning
Make a thorough list of tools and equipment that you have for your beekeeping activities. Then make a list of things you need to improve the quality of your venture and buy them. Remember, being prepared matters.
Keep all tools and equipment of beekeeping spotless and ready for the coming winter. Your tools should be made of wood and clear of any propolis or wax. The best way for cleaning your tools will be to soak them in a mixture of water and washing soda. This will remove all undesirable materials including wax from your tools. Make sure you arrange and store the cleaned tools properly.
You will also need to sterilize the brood combs, especially older ones. Take out the frames and boxes and put them in the open air for one week. With these precautions, you can eliminate any existing or potential bee pests.
Autumn Maintenance Measures
1. Find the Queen
The easiest way to ensure the presence of a queen, is the presence of one egg per cell. If you see eggs, it means the queen was there as recent as two days. If you only see larvae, it may mean six to eight days and gives no guarantee that the hive still has a queen. Colonies that lack a queen or have a weak queen should be either requeened or joined with another colony. A lesser number of stronger colonies will have a much better chance at survival in winter.
2. Combining the Colonies
Colonies with a lesser number of bees are weak and cannot survive winter. To strengthen them, you may need to combine the colonies. A greater number of bees will help in temperature regulation. They also build up much faster in spring.
3. Excessive Harvesting
While harvesting honey, you need to ensure that you do not take too much. If there is not enough food left, the hive will suffer bee losses. Colonies require about 4-6 frames of honey for the winter period to survive. In areas where the temperature is even cooler, more food (honey) will be required. Make sure that the upper deep hive body is full of honey.
4. Prevent Starvation
If the colony is at risk of starvation, deploy supplementary feeding. It generally happens if too much honey is harvested from the hive. You can measure this by the weight of the hive. It is always better to do the feeding in autumn rather than winter.
5. Monitoring of Pest and Disease
Monitor your colonies for any signs of pests and disease. Please notify the relevant authorities regarding the presence of any disease that may threaten to destroy other colonies, i.e. foulbrood or chalkbrood.
6. Temperature and Ventilation
Ventilation is necessary for the hive’s survival in the upcoming winter. At that time, the temperature in the center of the cluster is about 90 to 93 degrees Fahrenheit. Without proper ventilation, the warm air will condense as it meets the inner cold cover. This ice-cold water will drip down on the bees. If you are expecting extreme winter weather, wrap the hive in black tar paper avoiding the entrance and ventilation holes. Place a rock on the top to avoid the paper blowing off. This paper covering will help in regulating temperature, helps to absorb the warmth of the sun as well as act as a windbreaker. You can also use space heaters for this purpose.
7. Guarding the Entrance
You should reduce the size of the entrance to the hive and add a mousetrap. It will prevent the hive from the cold air, or any unwanted visitors in search of food. Small entrances will be much easier for guard bees to protect.
Beekeeping Activities and Tasks in Winter
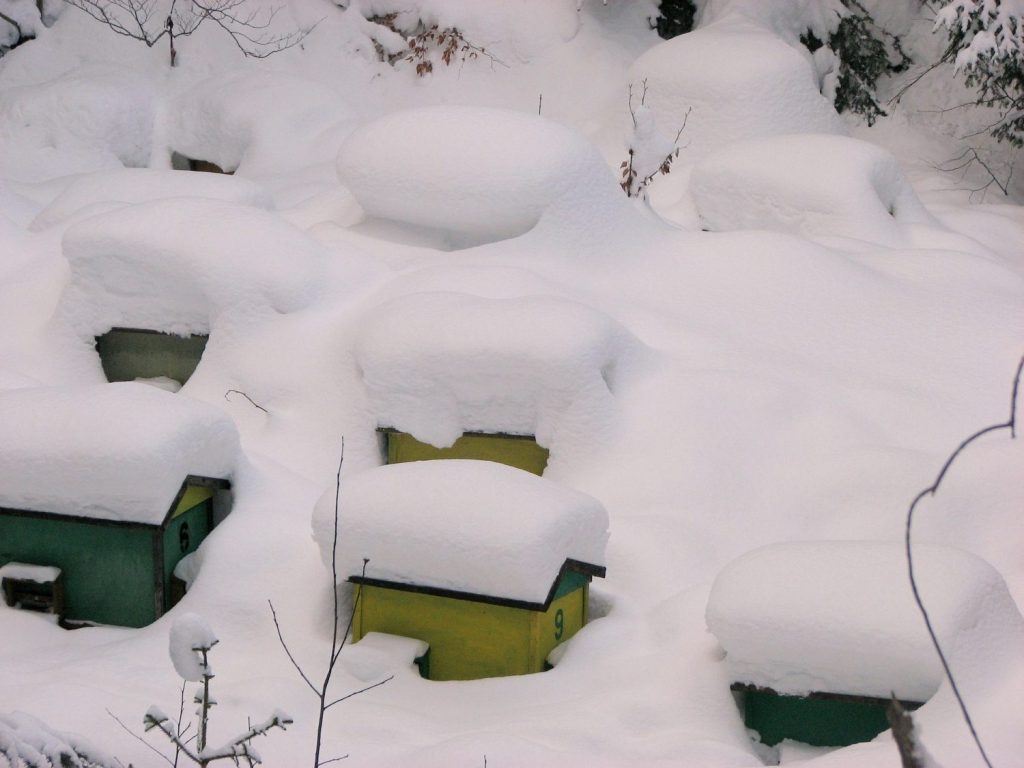
The winter season is when most of the beekeeping losses occur. Other than the weather extremes, these copious amounts of losses can be attributed to the mismanagement or the ignorance on the part of the beekeeper. Amateur beekeepers end up harvesting too much honey before the winter sets in, and they may not be fully aware of what the hive needs to be protected from the elements. If you were vigilant and prepared for the winter, then you will only suffer an acceptable amount of losses. Some common causes of these losses are as follows:
- Queen problems
- Pests and diseases
- Excessive harvesting
- Starvation
- Temperature and ventilation
- Predators
Beekeepers can prepare during autumn to manage all these risk factors. If you did not, then losses will occur. If you find yourself in such a situation, then look for the signs of early winter death through regular inspection.
Some signs of early winter death include:
1. Large Colonies
Larger colonies are the first to disappear in winter. The reason is Varroa mite infestation as it flourishes in large bee colonies. Therefore, splitting is necessary for large colonies and it must be done before winter.
2. Abundance of Honey
An abundance of honey indicates the death of a colony. Weak colonies are more susceptible to die out before the onset of winter.
3. Smaller Cluster
A complete colony loss is witnessed in small clusters before the winter is through. During winter, viruses spread much faster leading to the death of the hive.
4. No Bees on the Bottom Board
When the bees are starving, a pile of dead bees can be found on the bottom board. But if the bees are sick then there will be no piles of dead bees, as sick bees fly away from the hive. It is a natural process to prevent the spread of pathogens. Bees that are too sick will fail to return.
5. White Crystals on Brood Cells
If you detect any white crystals on the brood cells, then the hive is infested by Varroa mites. They leave behind patches of white crystals mainly around the dead brood cells.
6. Death of Bees after Emergence
Bees still in the stages of the development cycle are more vulnerable to the viruses connected with Varroa mites and many others. Parasitic Mite Syndrome (PMS) is relatively easier to spot because the bees die as soon as they emerge.
7. Colony Collapse Disorder (CCD)
During winter, colonies may also suffer collapse disorder. Colony Collapse Disorder (CCD) refers to a situation when all the worker-bees fly away or disappear from the colony. They leave the queen behind with an abundance of honey reserves. Today, CCD cases have been greatly reduced. But winter losses still occur. These two are distinctly different in many ways.
CCD signs include:
- Sudden loss of the worker bees but the absence of dead bees near or around the colony.
- An abundance of honey reserves, queen and brood bees in the hive.
The hive cannot survive without the worker bees and leads to CCD. However, the death of bees does not always indicate CCD. Certain pesticides can cause mass deaths of bees due to poisoning. Another indicator of acute bee poisoning is piles of bees dead outside the hive.
Causes of Colony Collapse Disorder CCD
- Varroa mite infestation.
- Diseases like a gut parasite; Nosema or Israeli Acute Paralysis.
- Pesticide poisoning.
- Malnourished brood due to poor nutrition or scarcity of forage.
- Honey bee stress resulting from beehive renting for pollination purposes.
- Environmental changes resulting from human activity.
Best Beekeeping Practices in Winter
Here is what you need to help your hive to survive winter with minimal losses:
1. A Strong Queen and a Strong Brood Pattern
A strong queen and a healthy brood stand a much greater chance of surviving winter. That is why you need to conduct inspections to ensure that your hive has a strong queen. If you cannot spot the queen or do not have a brood pattern, then consider merging. You could also simply requeen your hive.
While requeening, make sure the new has been accepted in the colony and has started laying eggs before you remove the former.
2. Wrapping the Hives
Always cover the bees in proper wrapping material. It is essential to ensure that the bees get the warmth they need and have good access to air for breathing. Tarpaper is by far the best for beehives. To ensure that the entrances to the hive have large enough opening space for the bees. The tarpaper is affordable and easily accessible.
3. Avoid Excessive Inspection
Resist taking out the frames over and over again for checking. During winter, it is just too cold to even risk exposing your bees to the cold freezing air. Checking on the bees should only be done if it is necessary. The best thing is to plan, prepare and then just let them be. Trust in your efforts that they will suffice and leave the bees and nature to their own devices.
4. Weigh all your Beehives
You will need to carry each beehive to gauge its weight. It is to ensure that the bees have enough supply of honey to feed.
The minimum weight should be above 70 pounds (32 kilograms). Hives that are lighter than 70 pounds (32 kilograms) indicate that the food reserve has run low and will require immediate feeding.
5. Consider Replenishing your Beehive
In winter, you may find yourself in need of replenishing or increasing your supply of bees. This can be easily done by putting in an order online.
The best time to order for bees would be before winter. On account of bee shortage, late orders may not get fulfilled. Also, you may not be able to get them in early spring. Therefore, it is crucial to anticipate your need and order as soon as possible.
6. Harvest Surplus Honey and Beeswax
You should harvest the surplus honey and beeswax that is not utilized in your preparation for the next season. Gather it into special containers and you can sell them to the people who have use for it. This way you can also make money in the process.
7. Research
If you mean business, then you will need a lot of research to do beekeeping successfully. You can pick up some books on the beekeeping topic or go online. This business requires preparation and the time invested in research will make you ready to tackle any problems head-on.
8. Join a Club
You can choose to become a member of a beekeeping club. You can do it online and keep in touch with everything in beekeeping. It will prove to be a great help for budding beekeepers. You can get the guidance you need in a friendly environment and the warnings too regarding all the pitfalls of beekeeping. It will offer motivation towards the best practices along with inspiration to take it to the next level.
9. Bee Patient
With beekeeping, patience and realistic expectations are important. You have to make ready and be patient until you reach your goals. Patience and readiness will make your life more positive and enjoyable than before.
Conclusion
Keep all these points in mind and make sure you are ready to deal with the challenges that each season presents. Being proactive is exactly what your beehive needs to thrive. Do not lose heart if you face too many challenges or do not meet your beekeeping goals initially. With practice, you will get there and with these thorough tips you can move on from being an amateur or budding beekeeper, to a seasoned one. Just keep in mind that in beekeeping, being ready is most of the battle.
What are your thoughts on this article? Leave a comment below and let us know.
An excellent article. I’ve been beekeeping (small scale, hobby) for 40 years and still learn new things from articles of this quality.
Jack Hart
Thank you Jack!
Sound advice giving added encouragement,thank you
As a first year beekeeper these articles are seriously valuable I hope my three hives survive our lid winters in seattle. I need to provide some kind of insulation inside the hive but am unsure what that should be
Hi Steve, glad it could help!
You can consider getting a beehive winter wrap.
You can also check out the following article on how to insulate a beehive:
https://beekeepclub.com/how-to-insulate-a-beehive-for-winter/