
If you purchase an independently reviewed item through our site, we earn an affiliate commission. Read our affiliate disclosure.
The hive stand is a beekeeping equipment that plays a crucial role for any beekeeper. In this DIY guide we’ll take a look at how to build a homemade hive stand.
Bees have always set their home above the ground, and it is not to stay out of reach from humans, though that may seem like one of the reasons. There are many advantages associated with staying away from the ground, and that is the intuition that drives bees to establish their colonies in crevices that are well secluded from invaders.
The self-sufficient bee colony has lived and thrived in the wild even before men discovered that they could keep (and profit from) them. Therefore, one of the best ways to establish and keep a productive colony is by trying to emulate how they live in the wild. The bee hive stand therefore serves many purposes and you have so many options to choose from if you would like to simply buy one. Alternatively, you can build your own hive stand from scratch using locally available materials.
About this Series
This post is part of a series on how to build a Langstroth beehive.
Sections
In this series you will learn how to build:
- Brood boxes
- Super boxes
- Beehive frames and wire them
- Queen excluder
- Bottom board
- Hive cover
- Entrance reducer
- Hive stand
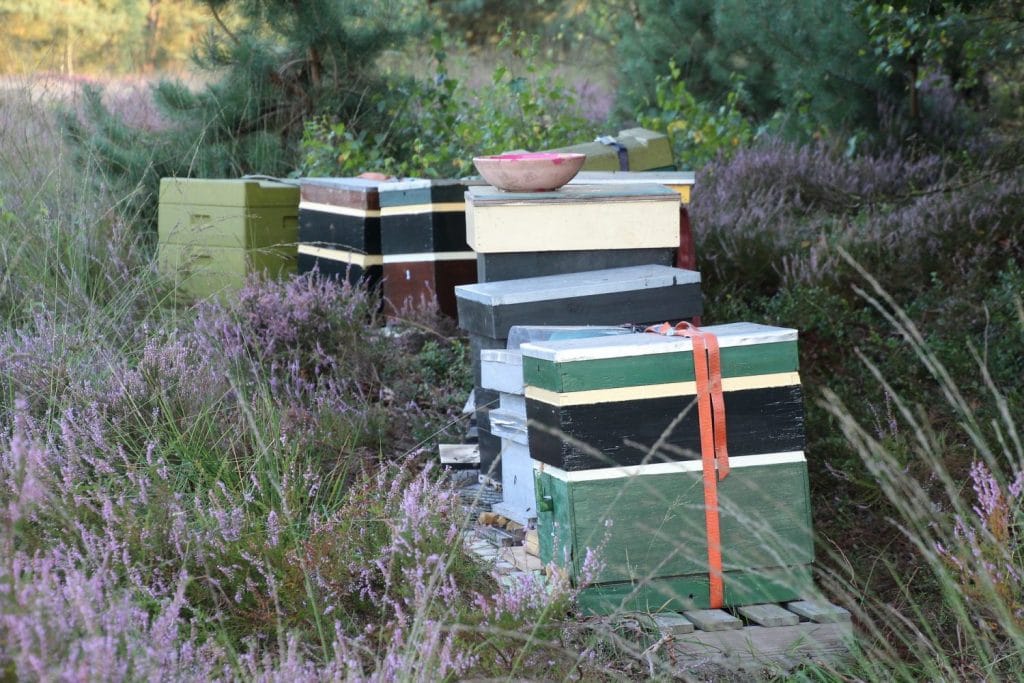
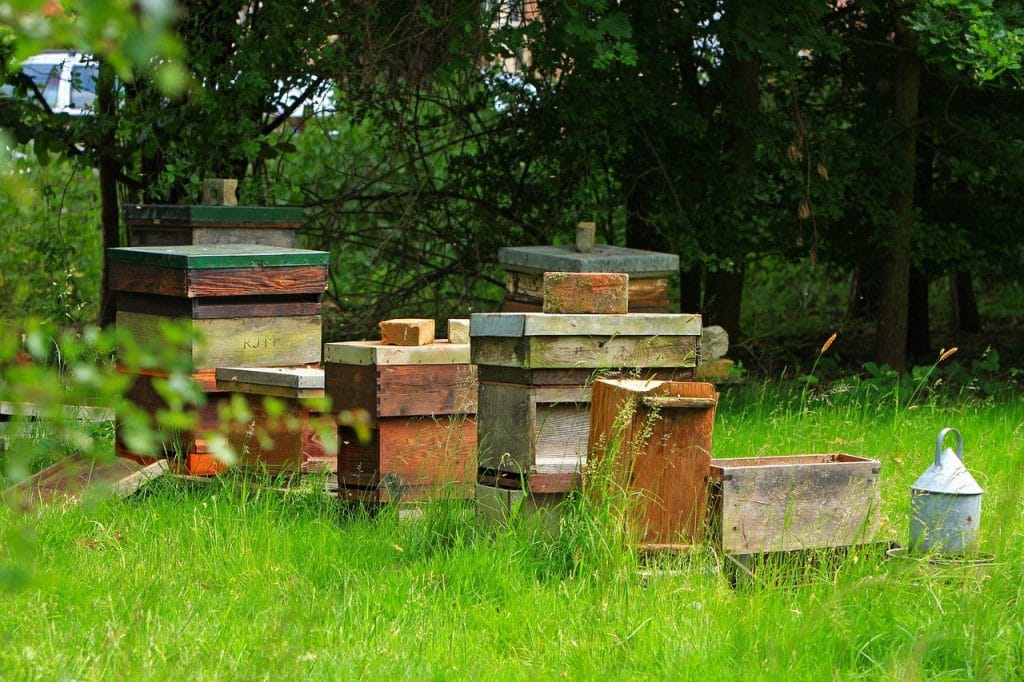
The Many Benefits of the Hive Stand
The beekeeper has to do his or her part when it comes to providing a habitat that is best suited for the bees. It is important to note that honey bees have many natural enemies, all seeking to get a share of the sweet honey, not to mention those that eat the bees. It is thus fair enough that the beekeeper does his/her role well. The hive stand can help reduce some of the risks that bees struggle with. It offers benefits such as:
1. Predators
Bees have so many natural enemies that include birds, amphibians, mice, reptiles, bears, skunks, and so many others. These not only steal and eat the honey, but they can also destroy the hive and eat the bees. The hive stand will help keep some of these predators from reaching the beehive. Since the hive stand elevates the beehive, that means smaller predators will not be able to access hive’s entry points.
A well designed hive stand can help keep rodents from climbing up and will discourage insects from going up into the hive. Some of the hive stands available in the market are designed in such a way that they have reduced contact with the ground. This reduces access points for insects such as termites and other invaders. The elevated hive gives the bees more time to focus on production instead of defense and that means more honey and profits to the beekeeper.
2. Weather Conditions
Severe weather conditions can have a serious effect on the bee colony. For instance, too much moisture can result in wet hives that makes it impossible for the bees to live. Heavy rainfall might also dislodge and carry away the hive. The hive stand directs rain water under and around the hive making it harder for the water to flow into the hive. A heavy stand will also protect the hive from falling off in case of strong winds. The stand therefore helps prevent hive loss and also keeps it from rotting.
One other reason to elevate the beehive is that it helps provide adequate airflow. This makes it possible for the bees to operate at optimum levels. Sufficiently humid condition within the hive is achievable when proper aeration is provided. A raised hive enjoys the better aeration and makes it possible for the bees to be healthy and more productive. The other benefit for use of the hive stand is temperature regulation. Bees are very sensitive to temperature changes and will employ all possible means to ensure the hive has the right temperature level. For instance, cold winter months force the bees to form a cluster so as to generate heat. Too high temperatures also affect bee behavior. The stand helps avoid contact temperature fluctuations that occur as a result of contact with concrete or ice cold grounds.
3. Accessibility
Beekeeping might be exciting but challenging as well. The beekeeper at times has to lift heavy hives, stoop low, crouch, and even kneel when working on the hives. These tasks may seem easy but it eventually may have a serious effect on the beekeeper. Joints and muscles may ultimately show the effect if you do not employ body-friendly methods when handling the hives. The hive stand makes it possible for the beekeeper to better handle the hive during routine maintenance. Visitors will also access the hive with ease when it is elevated. It also makes it harder for the hive box and parts to rot and attract mold.
Considerations When Building a Homemade Hive Stand
Bees are generally well acquainted with their environment and are capable of setting up and ideal home for themselves. However, since they are now housed inside the hive box, it is the responsibility of the beekeeper to ensure that the beehive provides the ideal environment for their survival. The hive stand designed should keep predators away from the hive and also protect the bees from environmental dangers. When building the hive stand, consider the following:
1. Materials used
You have plenty options when it comes to choosing the right material for building your homemade hive stand. Natural materials are particularly friendly to the environment and are a preferred choice. However, you have to also consider complementing materials that will augment the hive stand so as to make it impossible for nature elements to damage or break it. The quality of the material used should not be rusty or rotten but rather fresh and strong. Weak materials will not hold up and you will be forced to replace such materials from time to time.
You can use recycled wood to make the hive stand since this is sustainable and friendly to the environment. Consider also adding some weather-proof coating to the wood so that it protects the stand from weather elements. Recycled plastic can also be utilized so as to help the stand resist warping and weathering.
2. Height
Certain regions require a specific height for the stand, particularly for those engaging in commercial bee farming or ranching. However, for those that are doing it as a hobby or for subsistence, you are not obliged to stick to specific height when designing the hive stand. Just bear in mind the fact that bees prefer a home that is off the ground.
Proper height will keep predators away from the hive. Skunks and bears invade easily accessible hives and feast on the honey and bees. A good height will therefore make it hard for these predators to access the hive. Other invaders such as mice, ants, termites, and others will not access the hive if the height is set at inaccessible elevation. In snow prone regions, it is good to set the height stand at a height that keeps the bees away from the ground.
Conversely, regions that are free of pests and predators may not demand a longer hive stand. In such a case, you can construct a lower hive stand.
Another factor worth considering is your desired hive height organization. This applies to instances where various hives are stacked together. In this case, a longer stand might mean the need for a ladder if at all you need to access the hives on top of the stack. If you have hives in stacks, then you have to spread them out with each assigned a hive stand.
3. Design Functionality
Upon deciding to build a homemade hive stand, you have to accept the fact that what you build will lack some functional features. Commercial hive stands present more sophisticated features unlike what you may be able to build at home. One example is the hive stand with parts that can be linked to hold a number of hives. Others are designed to hold beehives that have different bottom board sizes. For DIY hive stands such as this, you will need some practice to prefect your hive stand design and functionality.
Building your Homemade Hive Stand
Design 1: Building a Fixed Hive Stand
Firstly, choose the right location for the hive stand. You have two general options to consider when building the beehive stand: a portable or a fixed position stand. This design covers the fixed position hive stand.
Required
- 4 treated pine posts
- 7 wooden frames
- Additional pieces of wood as you may require
- Post hole digger
- Hammer
- Nails
Steps
- Ensure the wooden posts are pre-treated. You can use oil to treat the posts.
- Firstly we’ll construct the hive top platform for the stand. In order to do this, you can build a rectangular-shaped pallet which can be composed of 3 long wooden frames combined with four shorter ones. The dimensions for the width and length for the wooden platform will depend on the size of the beehive stand you intend to build.
- Take the 3 long wood frames and lay them on the ground, allowing a small space of about 2 inches apart. Take the other 4 wooden frames and arranging them perpendicularly to the other 3. Space them evenly and use the hammer and nail to fix these together. This should form the wooden platform for placing the hive.

- Mark the 4 spots for the posts. The length and width of the post spacing should be in equal dimension to the hive top platform built earlier on.
- Use the post hole digger to dig the holes for the 4 posts.
- Take the first 2 posts and put them into the first 2 holes. Refill the holes and compact the soil around the posts so as to give a strong support.
- Take the hive top platform of the hive stand and place it on top of the first posts. Use it as a guide and place the 2 remaining posts into the holes. The 4 posts should be at per or equal level. Some beekeepers may build one that bends slightly so as to give a slanting position to the hive.
- Refill the 2 remaining holes and ensure the soil is compacted firmly around the posts.
- Place the hive top platform on the posts and nail all its corners to each of the 4 posts which should now be firmly placed on the ground.
- Bring in the beehive for a testing fit. The hive should fit in on top of the hive stand.
- You can paint the hive stand or apply oil so as to extend its life and add some aesthetic value.
- The beehive stand is now ready for use.

Design 2: Building a Portable Hive Stand
Consider the desired height for your beehive stand. This will depend on various factors: region, taste and desires, your height, availability of predators, and many other factors.
Decide the hive stand length and width which should be ideally a few inches more than standard hive dimensions. The ideal width for this portable stand should be approximately 14-3/4 inches whereas the length should be about 22-inches.
Required
- Measuring tape
- 8 wooden frames
- Cross cut hand saw or a table saw
- Hammer or mallet
- Drill
- Nails
Steps
- If you’re using recycled wood, then begin by removing nails from the piece of wood. 8 straight pieces of wooden frames will suffice. If you cannot get recycled wood, then you can buy some from the local hardware store.
- First off, it is important to note that we shall use the wooden frames to build the entire structure. The legs, sides, and upper part of the beehive frames are made of wooden frames. Cut the wooden frames to size.
- You can begin by building the hive top platform which follows the same steps as explained above when building the fixed position hive stand.
- As for the hive stand legs, choose wooden frames that are about 4-inches in thickness. This is best suited for supporting heavy beehives even during peak seasons. Alternatively, you can use pine posts as hive stand legs since these are strong and when treated can last for a long time.
- The next step is to build the hive stand leg support. In this case we shall use 8 wooden frames. The 4-inch thick wooden frames should be supported from the interior using 4 frames, all on 4 of its sides. This should build a structure similar to that of a wooden chair without its upper part.
- Once the leg support is completed, it is time to fix the upper part of the beehive stand. Take the hive top platform and hammer it to all the corners of the leg structure. This should result in a complete and portable beehive stand.
- You can test its stability by taking one of your hives and placing it on top of the hive stand. If not strong enough, consider adding some more support within the interior frames.
- You can finish it up by painting or oiling just to add some value and give the unit longevity.
- The beehive stand is now ready for use.
Wrapping up – Take Home Tips
You have plenty design options when it comes to building your own beehive stand. A desired unit would be one that raises the beehive to a reasonable distance from the ground and is built using recycled materials. The materials used should also be pest resistant. You should also consider adding a drain so as to keep the box and its components dry at all times. Stability is also an important aspect of the beehive stand. It should have wide foot pads and where possible allow for addition of sand and water so as to augment its stability. The unit weight should be well distributed and hence the need for well-balanced dimensions during the design stages of the beehive stand.
Also worth mentioning is the versatility of the beehive stand. Good ones are those that can fit any bottom board. Where possible, it should allow for two sizes of bottom boards to fit. A popular feet design for beehive stands is the circular feet. This tends to be more stable and hence the reason it is widely used. Unit weight might also be an important aspect of the hive stand. Strong and heavy ones can withstand heavy hives but might not be easy to carry around, especially it is a portable hive stand. Also consider the material construction. For most DIY projects, wood is the most common material used. However, if you can get recycled metal it can help bring out a stronger beehive stand. This might however be more difficult to build.
Conclusion
Keeping bees is not difficult as one might imagine, even if you have never done it before. It is quite easy to make bees healthy, happy and more productive. Bee hive stands serve a crucial purpose when it comes to beekeeping. It not only guarantees bee safety but it also helps boost honey production. You can build your own hive stand by following the simple steps above or opting for a commercial stand. The stand, notwithstanding what is chosen, certainly serves a necessary purpose. It can turn around health problems or reduced production in bees. It also helps to keep the hive clean and makes your routine work easier.
What do you think of this DIY guide? How do you suggest it could be improved, or how would you do it in your own way? Leave a comment below and let us know.
How about two cinder blocks?
Yes, that may be used. Just ensure that they are put on level ground.