
If you purchase an independently reviewed item through our site, we earn an affiliate commission. Read our affiliate disclosure.
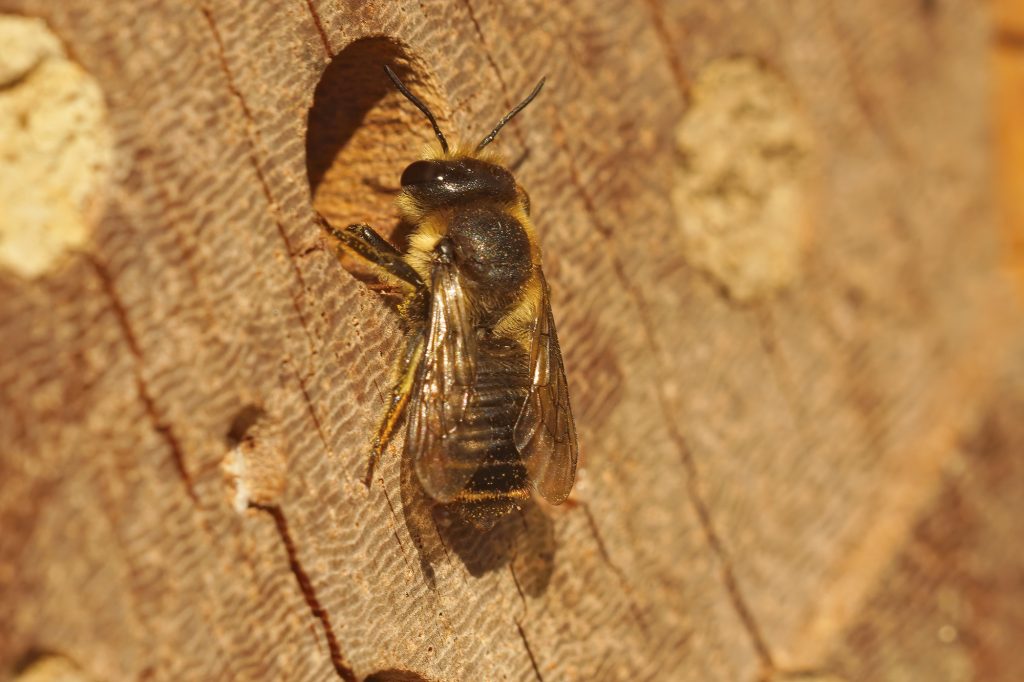
Leafcutter bees are one of the many species of bees that are considered solitary. This means you won’t find them as part of a swarm or in beehives. Instead of storing honey in closed hives made of wax, they have a different strategy, as you might have guessed from their name, they cut leaves. Using sharp jaws, the female bee cuts neat circles on the leaves of roses, lilac or pea plants. Leafcutters prefer non-hairy leaves that are also thin, such as rose leaves and cherry leaves. The plants aren’t harmed by this and the bee has an important use for the fragment. The female bees will curl up the leaf circle between her legs and fly to her chosen nesting spot. Favorite nesting points are small tunnels, which the bees either find in a hollow stem or tree or if they need to, they dig them out of loose material such as dry soil. They may also use flower petals. In this article, we’ll discuss how you can harvest leafcutter bee cocoons.
About Leafcutter Bee Pollination
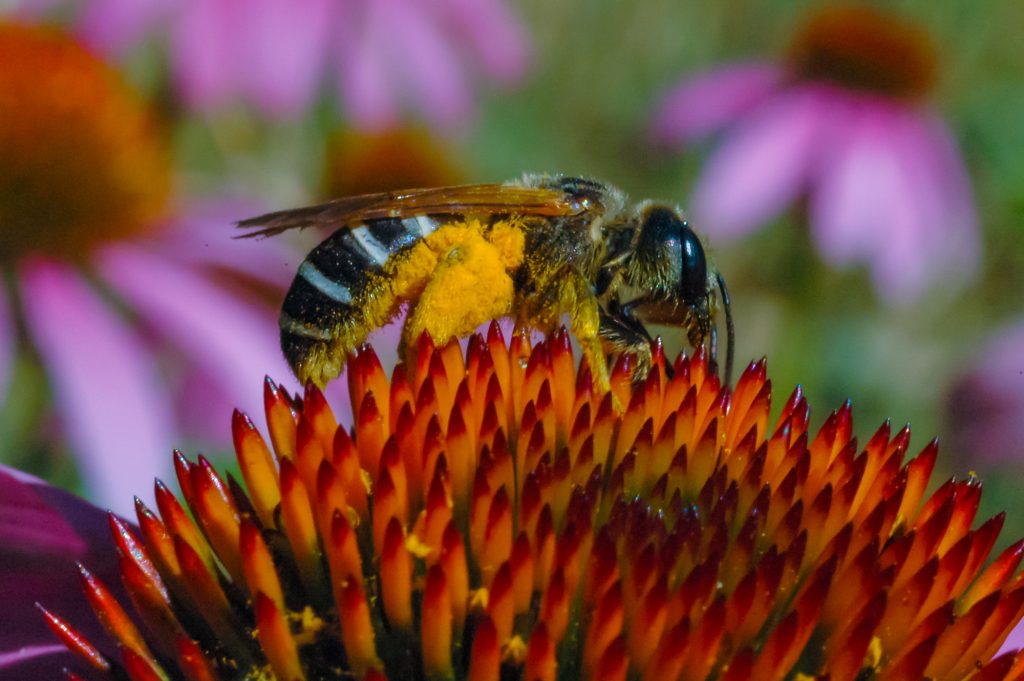
Leafcutter bees are responsible for pollinating very many important crops such as alfalfa (used to feed livestock), fruits and vegetables. They do this consequentially while they harvest leaves. They bellyflop onto the pollen while finding and cutting leaves and then onto another flower and finally, they transport the leaves to their nests. Whilst doing so they spread the pollen which falls from their hairy bodies. The leafcutter bee is so efficient that one leafcutter can do the job of up to 18 honeybees. Inside the leaf cocoon, the egg will develop into a larva, developing into a pupa and in a month or two emerge as a fluffy adult leafcutter bee, ready to continue the cycle all over again.
Inside the nest, the bee will then arrange the leaves into thin ball-shed rooms. She will then store nectar and pollen for food and lays a single egg on top of the food horde. Sealing up the room with another fragment of leaf, she creates a safe haven with everything a developing bee larva will need to survive through hibernation into full maturity. But her work is not done as she will need to lay several more eggs and thus create more cocoons for them. The leafcutter creates up to 20 nurseries in a single nest.
Raising this bee is very easy, you just need small holes and them into something that keeps them dry (like a small bee house). You will need to avoid man-made chemicals as solitary bees tend to avoid their smell. Leafcutter bees are summer bees; they emerge when temperatures reach about 77° F (25° C), that is, between 74° F (23.3° C) to 79° F (26.1° C). The nests should be kept near water, food and if possible with direct contact to early morning sunrise.
Overall, harvesting leafcutter bees is both easy and beneficial to anyone who has an interest. One may start planting vegetables and crops right after incubating their leafcutter bees so that once the bees have hatched, they meet blooming flowers and growing plants. In this case, the bees will not be forced to go elsewhere to start their tasks of pollination and leaf harvesting.
Reasons to Harvest Leafcutter Bee Cocoons
Leafcutter bees are efficient pollinators. It is required that their population is stabilized by ensuring their eggs survive hibernation throughout the winter into the summer. Leafcutter cocoons are made of leaves and therefore tend to be extremely fragile. This is one of the many reasons why it is important to harvest them. Normally, in nature, the bees would have to survive the harsh winter with no human help. Most of the cocoon ends up being compromised by the harsh weather and this leads to most of the bees dying from the cold and water before they even have fully developed. On the other hand, if the cocoons are harvested, they will be safely stored in a controlled environment increasing their chances of survival.
Leafcutter bees are exponentially productive bees, they attract a lot of parasites and pests that want to munch on them and their pollen. The pests also infect your bees with fungi which spread killing many and could at times be extreme.
These pests include pollen mites, chalkbrood, and tunnelling worms. The chalkbrood fungi attack through the walls of the thin nesting tubes. What happens is that the bees munch on the chalkbrood spores which are mixed into the pollen loaf, and the chalkbrood fungi kill the bees and transform them into larva-shaped spores. The surviving bees hatch and spread the fungi in the cocoon and on the pollen, only to be eaten again and affecting more bees. This continues until there is a complete wipeout.
Another pest that has been a serious problem is pollen mites, which are microscopic bugs that eat pollen. These mites arrive stuck to the pollen under the bee. If their numbers are enough, these mites eat all the pollen before the eggs can hatch and eat the pollen. It’s typically a race to see who can eat the pollen first, leading to a shortage of food for the bees.
The best way to avoid such pests is to harvest your leafcutter bee cocoons during the spring. This way, the pests won’t be around to infest your nests. Birds are also a formidable enemy to the leafcutter bee. Therefore, you should avoid keeping bird baths close to the bee nest.
Cocoon harvesting can also be done commercially for contract pollination. Some companies harvest bees so as to rent them out or seem them to farmers for pollination purposes. This is a relatively untapped field that has shown significant potential as it is effective. Cleaning your bee houses right before reentering the cocoons will help eliminate all pests and parasites that might have nested within the leafcutter bee cocoon.
Morally it is our responsibility as the keepers of the leafcutter bees to take good care of these beautiful and important pollinators. This is achieved by building and installing the nests as well as harvesting their cocoons. This is necessary as the bees will lead to the betterment of our surrounding environment and in the long run, environmental stability.
Steps to Harvest Leafcutter Bee Cocoons
Harvesting leafcutter bee cocoons should be done in early spring right when the dandelions are starting to bloom. Harvesting in this case means retrieving the cocoons from their nests, and cleaning and storing them. Allow your leafcutter bees about five to seven weeks of incubation so that they can develop into adults.
There are several options of nests that can be used as nesting homes for bees, namely:
- Bamboo nests.
- Natural reeds nest.
- Cardboard nests and wooden trays.
Things to expect when harvesting include:
- Healthy leafcutter bee cocoons
- Bee frass
- Chalkbrood
- Pollen mites or other types of parasites
- Dead leafcutter bees
- Pollen loaves from unhatched bees
1. Harvest Leafcutter Bee Cocoons From Bamboo
Cocoons can be harvested between fall and winter when bee activities have reduced; any sooner and you’ll be risking the development of the larva. While harvesting leafcutter bee cocoons, keep in mind they are made of leaves and thus more fragile than most cocoons, thus extra care must be taken. This becomes a bit harder when using bamboo as it is strong and will require a bit more pressure to open. Cocoons can be stored in nesting tubes or extracted.
To extract from bamboo, the tools you might require are:
- Philips-head screw driver
- Pencil or a pen
- Popsicle stick
Steps
- You can use a small sledge opener which is placed at one opening and gently nudged in one direction as you turn the bamboo in the opposite direction with your hand; this ensures it breaks in half reducing the chances of damaging the cocoons.
- While using the tip of the pencil/pen, push the cocoons slowly and safely onto a paper towel or cloth.
- Pick one cocoon at a time as you count them while discarding the damaged or empty ones.
- Place your cocoons in a guard bag, and leave the top open.
- Place the open bag into another larger bug and place a safe bee trap in another larger bag.
- Seal the larger bag and start storing it in a cool dry place.
- Once the adult bees emerge, they become trapped preventing them from escaping early. As soon as the bees are noticed to have emerged, take the bag out and release them near their nests so that when they are done exploring, they will return to the nests. The cycle will continue as the bees get to work immediately.
Finding other insects in the nests is completely normal as they like nesting in the safe havens of bees. Any fungi or other infestations such as chalkbrood are also common and should be dealt with as they lead to bee shortage.
However, since bamboo tends to be difficult to open up, it is advisable to use a more bee-friendly nest that will also be easy to open to reduce the number of bees lost during cocoon retrieval.
2. Harvest Leafcutter Bee Cocoons From Natural Reeds
Before you begin, chose a clean working place and gather the necessary harvesting tools. The process is normally messy thus you may prefer to lay a cloth or paper tissue onto the table before undertaking the task of harvesting.
Tools you may require include:
- Cocoon comb. You may also use a normal plastic comb but the cocoon comb is preferable as it is made for this particular task thus reducing damage and increases on speed.
- Cocoon guard bag or a bee guard bag.
- Strong small brush such as a toothbrush.
Natural reeds are the best option as they are more environmentally friendly. They are also very easy to open and require little force thus do not compromise the fragile cocoons. For natural reeds, you may want to use a small wooden strip to check if the tube is fully occupied or reusable. Simply run the strip in, through the tube and if you find there are no cocoons you may set it aside for the next harvesting season thus reducing wastage and cost.
Steps
- Open up the natural reed using your fingers and nails, normally the ends do not have any cocoons so don’t fear nipping the tips. To be faster you may use a hand cutter, cocoon comb (use the edge as it is made a bit sharp) or scissors.
- Pry open the cocoon comb being careful not to damage the cocoons. The cocoons are expected to be green, yellow or dirty brown in color. Many other things such as parasites, fungi or insects are expected as well.
- Using the cocoon comb, remove the cocoons safely and place them on the paper towel. Pick out whatever is out of place and gently brush off any pollen mites that may be on there.
- You can now place the cocoons in a bee guard bag or any other bag that is breathable. Store the cocoons in a cool dry place until it’s time to place them back into their nests. You can throw the used reads out and return the unused ones back to the sitting location.
On the downside, natural reeds are not nearly as hard as bamboo and this makes it easy for other insects such as wasps and bumble bees to make their way into the nest through burrowing holes in the sides. They are also easy to penetrate by birds through the openings.
3. Harvest Leafcutter Bee Cocoons From Cardboard
Cardboards are also easy to open and thus very preferable to most people. They are also easy to acquire as they are very common.
Tools required would include:
- Cocoon comb
- Bee cocoon bag
- Scissors or an all-purpose cutter
Steps
- First, run a thin wooden strip through the tube to check how full they are. To promote accuracy, place the strip inside and use a pen to mark how far the strip can reach.
- You will then remove the strip and place it on the tube starting from the marked spot and mark it on the tube where the other end of the strip reaches. You may do this for both ends to mark outpoints you may cut out to reduce wastage.
- Tear or use scissors to carefully snip the ends of the cardboard bee tube. Use your fingers to gently unravel the tube. With care, use your fingers to separate the leafcutter bee cocoons from the paper and place them on a clean or so surface. Brush off any debris on the cocoons and remove the spoilt ones, leaving healthy viable cocoons.
- You may now place the cocoons in a breathable bag such as a cocoon guard bag. Store them in a cool dry place as you wait for the time when you can return them to their nests, which is the summer time.
Note that leafcutter bees are not like mason bees, they cannot survive in water and thus should not be washed or stored anywhere where they can come into contact with a lot of moisture. This is why they are stored in breathable bags so as not to sweat and create a moist environment. Since you don’t wash them, it is impossible to get all the pollen mites off and this can pose a danger to the cocoons they are attached to. Consequently, constant checkups that ensure things are moving on well are required.
4. Harvest Leafcutter Bee Cocoons From Wood Trays
Wood trays are the most advisable method as they are easy to open and do not require any breaking and thus are reusable over and over. They may require a bit of maintenance by simply cleaning while the bee cocoons are in storage.
Steps
- Remove the rubber bands holding the boards together (normally 3-5 boards).
- Remove the cardboard base and place them safely aside for reassembly.
- Lift one tray at a time using a cocoon comb to gently scrape them off onto a paper towel-covered surface. Debris may also come off so you will be required to handpick them and dispose of them separately.
- Place the healthy cocoons in a breathable bag such as a guard bag and store them in a cool dry place. You’d like to time the summer so that when the bees come out of their cocoons, they will be home and will adopt that position as their nesting place.
- Use a brush to brush off the debris and dirt left on the wood trays. Put some water and a tablespoon of bleach in a bath and use it to clean the trays. Rinse the trays and place them outside to dry.
- Once dry gather all trays, rubber bands and cardboard bases and store them as the bees hibernate.
- Once the summertime nears, you may reassemble the trays and return them to their original position where you will later place the ready-to-hatch leafcutter bees.
For leafcutter bees, the front of the wood trays is normally painted black to increase warmth in the box. Note that:
- Leaving unoccupied boxes out may attract other insects and this is why it’s advisable to store them when not in use.
- Providing external housing for any nest is vital as it prevents any environmental damage to the tubes or trays.
- You have to periodically check the stored cocoons in case parasitic wasps emerge to attack them.
- The temperature should always be regulated where the leafcutter bees are stored as the cocoons are not as volatile as other bees.
- Using variable size tubes helps the bees remember their nest thus reducing confusion.
- At 86° F (30° C), adults will start to emerge after about 18-23 days while at 69.8° F (21° C) they emerge between 40-45 days.
Conclusion
Knowing how to harvest leafcutter bee cocoons is important if you’re going to keep them. Leafcutter bees are one of the necessary, undeniable species that are vital for their pollination efficiency. They serve the purpose of not only increasing but also diversifying the plants in our gardens and farms. They are an important aspect to consider when starting a garden be it a vegetable or flower garden. They will ensure continued growth for your crops, fruits and vegetation and will never disappoint.
It must be noted, however, that keeping leafcutter bees discourages irrigation as it will disrupt the bees’ work of leaf collecting and irrigating. Where irrigation is necessary, one is advised to irrigate during the cold season when the bees are in hibernation or at night when the bees are inactive. For large-scale farmers, leafcutter bees for the summer will quadruple your productivity with little downside. The bees will increase the pollen flow for you and your neighbors and you don’t have to worry about them stinging as the males do not have a stinger and the females are very peaceful. Instead, the males have a wiggling end that poses no threat to you, any kids around or even pets.
Most of the instruments required can also be replaced by simple objects at home thus little or no money is spent on acquiring them. Due to their tiny size and hairy bodies, they can easily pollinate even the smallest of flowers or crops that are the backbone of our food system. The only requirement is to avoid using any artificial or manmade chemicals. For beginners, we recommend one nesting hole per 2 leafcutters. The beginning might be slow but with patience, the number slowly increases and you will soon witness the advantage of having this helper on your land. If you chose the bee harvesting lifestyle, you’re on the road to helping America and at large the world gain more pollinators back.
Michael, Thank you for the detail of harvesting leafcutter bees. I have kept honey bees for several years, but want to establish a population of leafcutter bees for our small 5 acre field of alfalfa. We would like to harvest seed in later summer. I am looking at paper straws for tubes. I see 8mm and 6mm diameter straws but not sure what the ID (inside diameter) is. My question is: Is it necessary to remove the cocoons from the straws? Can we just store the straws in a cool area over winter and early summer without tearing them open… Read more »
Hi Bob, Glad to hear you’re interested in leafcutter bees for your alfalfa field! Switching from honey bees to leafcutter bees can be exciting. When it comes to paper straws, the diameter typically refers to the outer measurement, so the inside diameter might be a bit smaller. As for your question about cocoons, it’s generally not necessary to remove them from the straws. You can keep the cocoons inside the straws and store them in a cool area over winter and early summer without opening them up. Just make sure the storage place is consistently cool and dry. When you’re… Read more »