
If you purchase an independently reviewed item through our site, we earn an affiliate commission. Read our affiliate disclosure.
Electric fences are a sure way to ensure beehives in an apiary are not attacked by bears. Beekeepers avoid losses in beekeeping equipment and honeybee colonies by installing an electric fence around the apiary. Both beginner and experienced beekeepers can set up an electric fence to protect their beehives. You can build your own electric fence or buy one and assemble it. Putting one together with parts from different manufacturers allows you to customize the electric fence to your preferences. This article delves into how to build an electric fence for bears around an apiary. You can use it to protect one beehive or many.
Purchasing Supplies to Build an Electric Fence for Bears
There are manufacturers of electric fences that sell them to beekeepers. These electric fences come in the form of kits. Some of the kits may not be complete and require purchase of additional equipment. There are also makers of parts for electric fences. They make varying equipment that goes into the electric fence system. Makers of solar powered electric fences provide unique solutions for apiaries in remote locations. They give beekeepers peace of mind when their apiaries are not located near their homes or nearby places.
The choice between building an electric fence for your beehives, or buying one via a kit and setting it up rests with the beekeeper. Whatever choice you go for, be sure that it fits in your budget and fits into the growth of the apiary. Both beginner beekeepers and experienced ones can build an apiary electric fence for bears. Electrical wiring skills are the main consideration when building the fence.
Equipment Needed to Build an Electric Fence for Bears
Equipment you need to put together an electric fence for an apiary varies. Preparing the ground too depends on what you can get. Be ready to work with wires, and bits of metal and plastic. A screwdriver, hammer, saw and screws are most likely going to be needed. In an ideal setting, you might use a power auger to dig holes. In other places, digging holes by hand might be the only option available. The depth you can dig to varies by the surface of the land on which the apiary is located. The electric fence we describe in this guide uses round wooden posts for its fence supports.
In the following list are the most important tools you need to build an apiary electric fence for bears. You may need some or all of them:
- Nails
- Hammer
- Screwdriver and screws
- U-shaped fence staples
- Power auger
- Wooden posts
- 15 gauge wire
- Electric fence energizer
- Line insulators
- Lock insulators
- Wire strainers
- Wire cutter
- Grounding rod
- 1.5 electric cable
- Rechargeable battery
- Pliers
- Wrench
- Wire crimpers
- Electrical tape
- Electric fence sign
Preparing to Build an Electric Fence for Bears
You should prepare adequately for the building of your electric fence. Make sure to purchase all the required parts so that the job goes smoothly. Equipment and tools needed should all be assembled together and available for the job. Where possible, use power tools. They give you better results in the quality of the electric fence you build, and also help you to save time.
Some of the work to be done on the ground, could be done when preparing for the installation of the electric fence. Consider that a buffer area of cleared space is needed between the electric fence and the nearest trees or vegetation. Grass works best, if there is to be any vegetation in the space that is within 3 feet of the fence. If bears get more cover approaching the electric fence around your apiary, then it might not be very effective at stopping them.
Building an Electric Fence for Bears
1. Dig the Holes for the Supporting Posts
Building an electric fence for bears around an apiary starts with digging holes for supporting posts. Supports of various kinds can be used. Consider attachment of the electrical conductor to the supporting posts. Wooden poles of various sizes are used. Round wooden posts that have been treated are great for use as electric fence supports. Other materials that can be used include metal, fiberglass and PVC. With metal supports, additional attention should be paid to insulation. Supports that are not steady can be supported with stronger materials or posts. For wooden electric fence supports, nails and screws work well.
The depth of holes you dig should be at least some 12 inches. You may dig deeper if you would like to. More depth gives you better firmness of the fence supports when completed.
Holes for the supporting posts should be dug not more than 8 feet apart. It is better to be generous with the number of posts you use and have a strong fence than skimp on the number of posts and have a weak electric fence.
2. Insert the Supporting Posts
Once you have dug holes for the supporting posts, insert the posts into respective holes and backfill the hole. Firming up the soil as you backfill in small amounts is recommended.
3. Mark the Route for the Fence
You might want to mark the route followed by the electric fence. Spots for supporting posts should be indicated. Leave allowance for a gate to facilitate your entry into the apiary and exit past the electric fence. When marking out the route the electric fence will follow, allow 4 feet of space between the fence and the nearest beehive. Bears can reach through the electric fence in some cases and topple them over.
4. Wire the Fence
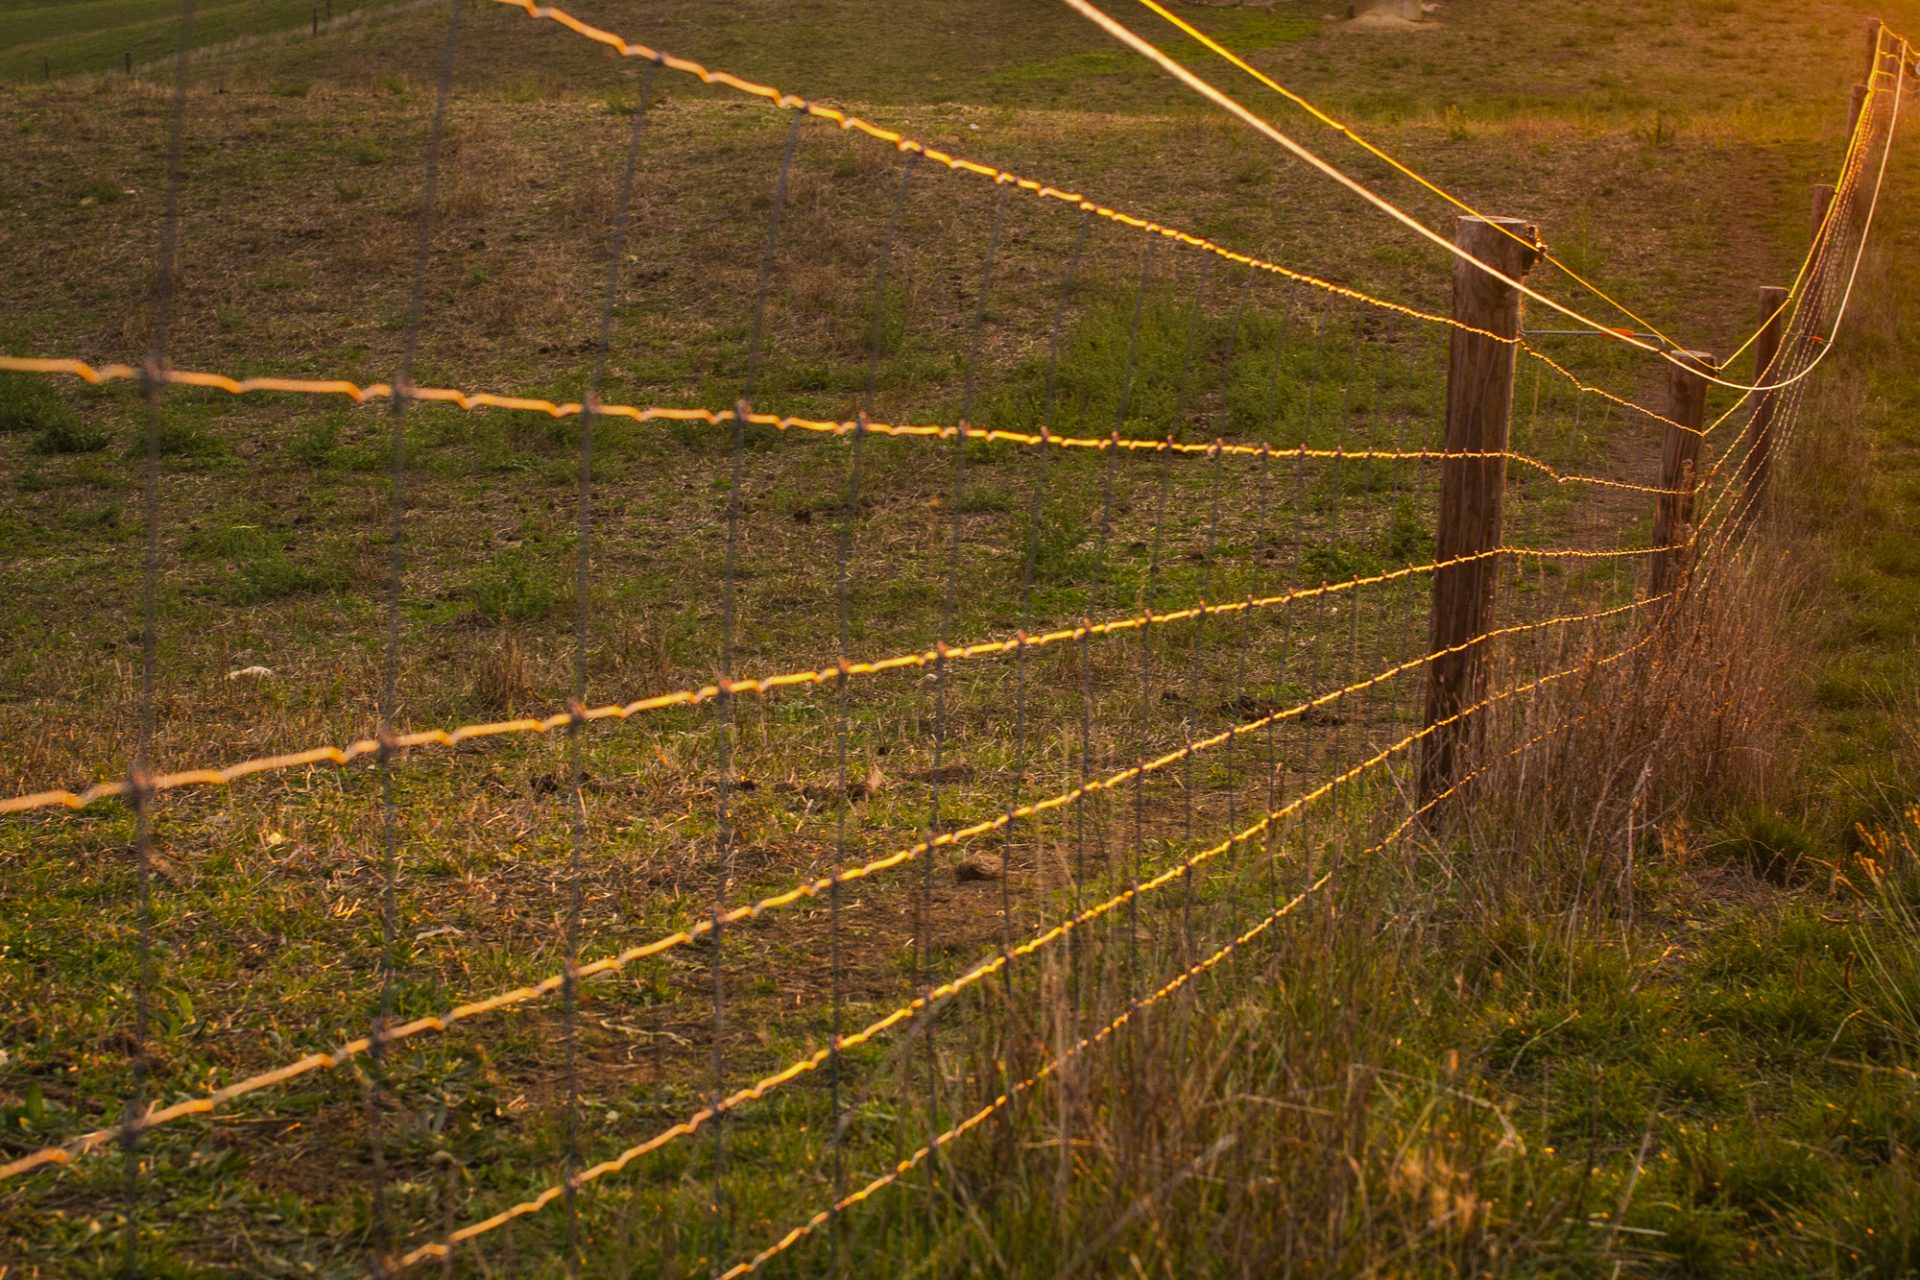
With your electric fence supporting posts up, it is time to wire up the fence. The first wire from the ground should be not more than 8 inches off the ground. The other wire strands run parallel at intervals of 8 – 10 inches. The electric fence should have at least 5 stands of wire. Using fewer strands can make the fence too short. Bears jump over short fences and will reach your beehives.
In a 5-wire electric fence for bears, the wire closest to the ground is hot. It carries current. The second wire does not carry current but is grounded. The third, and fifth wires are hot wires too, while the fourth wire is not hot. The alternation of hot wires with current and those that are grounded, ensures any animal or person forcing their way through the fence are shocked. Attempts to go over the fence also result in a shock to the bear.
5. Make Use of Electric Fence Insulators
Insulators are used to hold wire strands of electric fences in place. They prevent contact of the wires with the supporting post. Critical insulators in the system are the corner insulators and line insulators. At the gate, more insulators are needed to ensure the part of the fence with the gate is electrified when the fence is live.
Insulators are fixed onto the supporting posts, and then the wires inserted into the insulators. Start with the line insulators and lock insulators at the gate posts. Corner insulators come later after adding wire into the line insulators. When starting, put the wire in one lock insulator on the gate area, and move along the fence spooling out wire and putting it in the line insulators. Nails that come with insulators for electric fences are not often the best for use. Replacing them with screws gives you great results and is better for the electric fence you build to keep out bears.
6. Allow for Fence Strainers
Allow for the addition of fence strainers to each strand of wire in the electric fence. The strainers keep the wires taut, so that they can be tightened periodically. Work with one strand of wire along the entire perimeter of the fence before moving to the next strand. At corner posts, it is best to use U-shaped fence staples. They give additional strength at the important corners of the electric fence.
7. Wire the Gate Handle
When you come to the gate area again, you will have run a wire strand around the apiary. Run its end through a gate handle and screw it into place. Gate handles for electric wire fences have insulation for their safe handling. They also feature springs and a hook for holding them in place. Screw eyes are best for hooking the handles into.
Installing an Electric Fence Charger
A fence charger is installed after you have installed the wire strands of the fence. The charger can be solar powered or run on AC power. Apiaries that are located away from mains power supply grid, require solar power for their electric fence energizers. When the apiary is near mains power supply, it is best to use AC power. Solar power can be installed in such an apiary to work as backup when mains power is out.
- In some locations, use of a solar electric fence charger requires it to be faced south. Do not guess if you are not sure of the direction. Use a compass to get the direction right.
- A 6 – volt electric fence charger works great for most electric fences that use solar powered energizers. It works for fences around all sizes of apiaries. It shocks enough to deter bears and humans without injuring them.
- The charger is also able to work with a few weeds touching the wire strands of the electric fence. This is however not encouraged. Maintenance of the electric fence includes clearing weeds from under and near both sides of the fence.
- The fence charger you use is best installed near the gate area of the electric fence. It allows for quick disabling and powering on of the fence when you want to enter the apiary or leave.
1. Set Up the Grounding Rod
Drive a grounding rod into the ground near the electric fence energizer you use. The grounding rod you use should be 8 feet long. Drive it 7 feet or more into the ground. You can also drive it fully into the ground if you please.
- A grounding nut on the grounding rod is great for attaching the ground wire to the grounding rod. The wire leads from the rod to the grounded wire strands of the electric fence. It is also connected to the grounding connection of the fence energizer.
- Where you use a grounding improver such as chicken wire, it should be connected to this grounding rod too and other rods if you please.
After connecting the grounding rod to the electric fence energizer you are using, make the live current connections. These go to the connection on the energizer that has current. The connection is wired to the wire strands of the electric fence that carry current.
Improving Grounding
Additional grounding can be used with the electric fence you build. This is an optional feature that can be left out if you do not want it for your fence. The ground near and under the fence is made more conductive using various methods. Some chicken wire on the ground is great to improve conduction of current through an animal touching the fence. The chicken wire is laid under the fence, to about 3 feet away from it. A bear standing on the wire and touching the electric fence gets shocked better. Chicken wire used for this purpose is connected to the grounding rod of the electric fence. You can also have additional grounding rods at different points if the fence is a long one. Moisture in the ground around the fence is also a method to improve grounding.
Using Net Electric Fences
Net electric fences are an option available to beekeepers. Electric fences that use nets are great for small apiaries where they are protecting several beehives only. Large apiaries with many beehives need more than one net to cover its perimeter.
- Joining and connecting the electric fencing nets can be costly. It also adds many points of weakness into the electric fence system. This makes electric net fences unsuitable for large apiaries.
- In this guide, we lay greater emphasis on wire strand electric fences for bears because they are more practical for both large and small scale beekeeping operations.
- With minor alterations and omissions, the permanent wire strand electric fence we describe, can be made in a temporary setting, such as when you are travelling with bees for pollination.
How to Operate an Electric Fence for Bears
It is time to test the electric fence you have built so far. You should give the fence a looking over before powering up the energizer. Be on the lookout for connections that connect the live current wire and the grounded wires of the electric fence. You should also check all connections for tightness.
Once you are sure about the fence, power the energizer for the fence and turn it on. It should indicate that the fence is live. A voltmeter at various points of the electric fence should be used to confirm that the fence is all good along its entire length. Different chargers for electric fences have varying information displays and outputs. Make sure to get one that comes with a detailed instructions manual. The energizer should be able to withstand shorts in the electric fence without getting damaged.
Baiting Bears
Electric fences can be baited to train bears. Baiting involves adding pieces of bacon to the third wire (which is a hot wire) of the electric fence. Pieces of bacon are added at several points along the length of the electric fence along the third strand of the fence. The number of such points increases in longer fences. Bears coming towards the fence are likely to sniff at the bacon. They receive an electric shock to their noses which are very sensitive. Such bears turn away from the apiary and do not go near electric fences again.
Animals are more sensitive to electric currents than people. This is why an electric fence presents the best solution for protecting beekeeping equipment, bees and honey.
Maintaining an Electric Fence
It is important to maintain your electric fence. The fence should be kept working at all times because bear attacks can occur any time of the year. In fall, you should check on the fence with more frequency because bear attacks on beehives happen in greater frequency. Inspection of the fence can be integrated into your apiary management regime. On beehive inspection visits, you can make quick visual inspections of the electric fence around the apiary.
Follow these steps in detailed maintenance of the electric fence for bears:
- Detailed inspections involve bringing a voltmeter along to check the charge on the electric fence. Various points along the fence are checked for charge during the inspection.
- All wire strands of the electric fence should be checked for tightness. If they are slacking, tighten the strainers on the strands to restore the fence to its best condition.
- Every time you are leaving the apiary, hook up the gate and turn the electric fence energizer on. Check the meter or display on the energizer to confirm it is powered on and working properly.
- Insulators on the electric fence can wear out. Inspect them regularly and replace them if needed. Short circuits are bad for the working of the electric fence. Make sure that no short circuits are found on the fence.
- Fallen branches should be removed from the fence promptly. Clearing the area near the electric fence prevents the problems you would encounter from fallen branches from trees.
- The vegetation under the fence should also be cleared so that it does not drain charge from the wire strand that is closest to the ground. The ground under the fence and near it can be planted with short grasses or other vegetation that does not grow tall. Low grasses and plants give better grounding than dry ground.
- If you are using batteries, check their condition frequently. If the batteries need replacing, do so promptly. Most rechargeable batteries that are commonly used with electric fences need replacing every two years.
- When inspecting the electric fence for bears, listen for pops along the fence. If you hear them, they mean that the fence is arching away charge somewhere along its length. You should look closer in the area you hear the pops and stop the arching. It drains power from batteries or inflates your power bills if you are using mains grid power supply.
Safety with Electric Fences
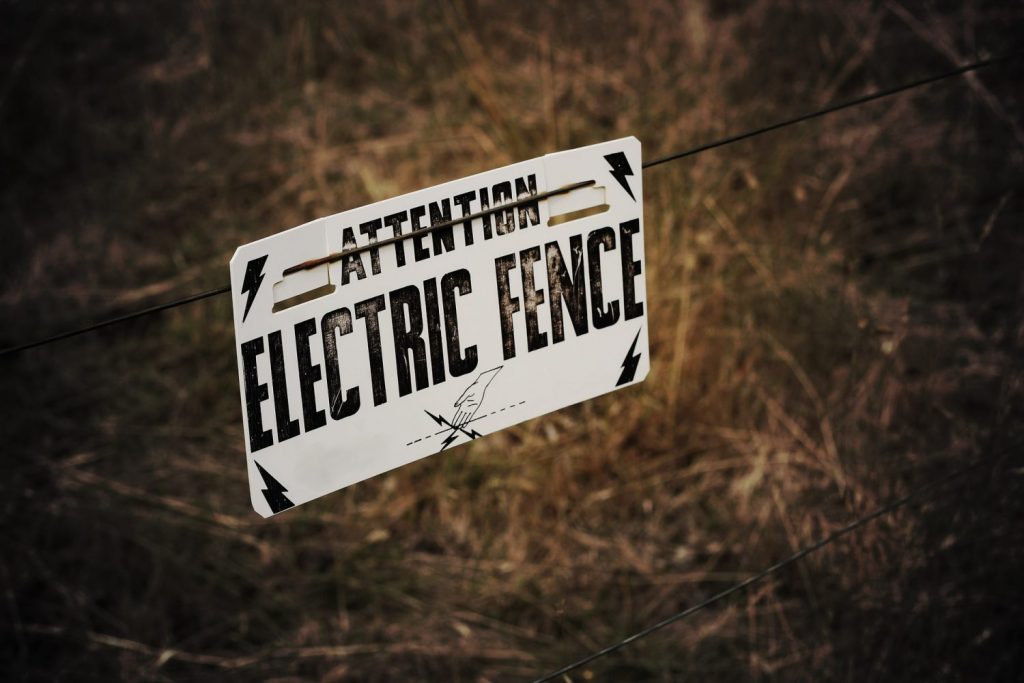
You should follow strict safety procedures when working with electric fences. The fence can harm people and important animals. It is great to have signs on the electric fence built for bears. In some jurisdictions, it is required by law to have signs showing the fence is an electrified. The signs warn people coming near the fence that they can get shocked if they touch it.
- During fence inspections and maintenance, the electric fence signs should be checked for clarity and replaced if they are worn out.
- When entering the apiary, make sure to turn the electric fence off before touching any other part of it.
- In the same manner, replace all wire strands and connections of the electric fence around the gate area before turning on the energizer when leaving the apiary. Turning the electric fence on should be the last thing you do.
If you need to test the fence or check if it is working, do not do so by touching the hot wires. Use a voltmeter to check whether the fence is charged. Checking the fence by touching it can be injurious to both your well-being.
Conclusion
Bears rummage through beehives in search of honeybee larvae and honey. They are a big problem in fall. Bears of any type may also present problems in early spring. Keeping bears from accessing beehives is important for beekeepers across nearly all states in the USA. Once a bear has known the location of a beehive, it will keep coming back to feed. Beekeepers have to change the location of the apiary if they do not deter bears from accessing beehives.
Electric fences around apiaries teach bears to avoid the place. You should install one around your apiary even if you have not seen bears in the area. Leaving them unprotected is taking a dangerous gamble with your beekeeping operation. Use this article as your guide on how to build an electric fence for bears visiting your apiary.